ProTaper: Recommended use


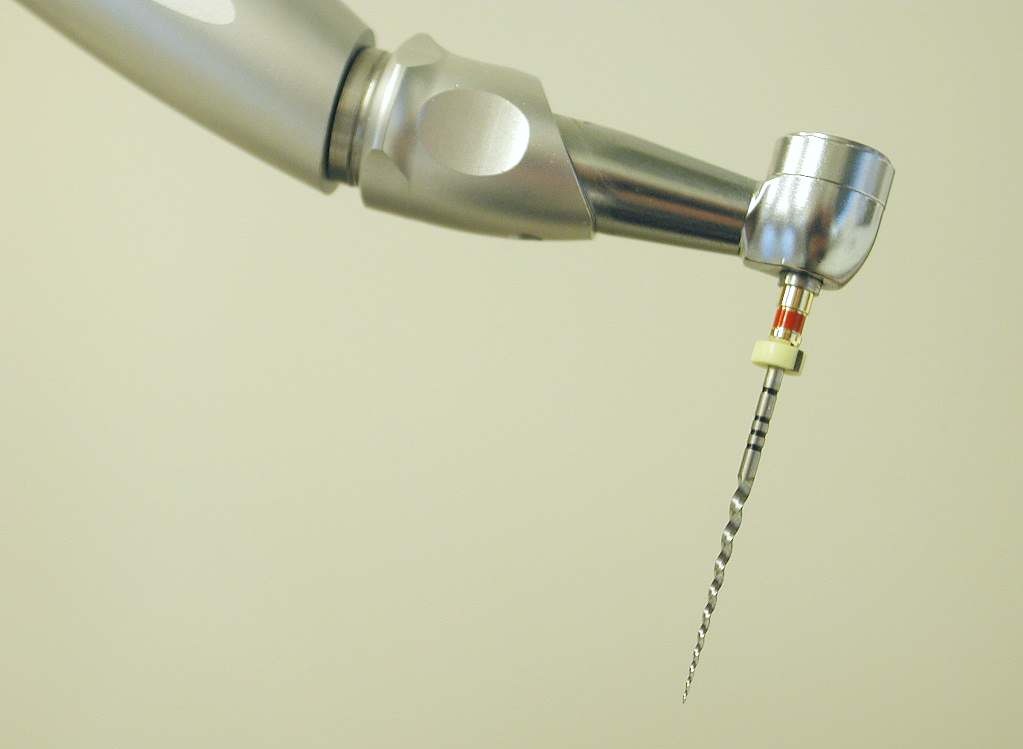
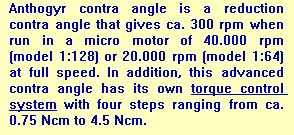
ProTaper is used in a rotating contra-angle with a high torque and a constant speed of 250 - 350 rpm employing only light pressure.
Guidelines:
1. Work instruments to light resistance and never force them.
2. Only use instruments in a well irrigated and lubricated canal.
3.The appropriate finishing file passively follows the canal to the desired length… then is immediately withdrawn.
4. Use in constant rotation at a speed of 250-350 rpm.
5. Clean flutes frequently and check for signs of distortion or wear.
The ProTaper technic:
Explore the root canal with a stainless steel N° 10K hand file using a small reciprocating back and forth motion. Work passively and
progressively until it is a few millimeters short of the estimated working length. Fill the pulp chamber full with either Glyde™ or
Sodium Hypochlorite (NaOCl) for all initial negotiation procedures.
Now, start the ProTaper™ sequence with Shaping file N° 1 which has purple ring. The S1 is carried into the canal and moved apically to just short of the depth of the hand files. In more difficult canals, one or two recapitulations may be necessary to enlarge the coronal two thirds of the canal. Irrigate and go back in with 10K hand file to break up debris and then re-irrigate.
The SX (no colour ring) is then used with a brushstroke action to selectively remove dentine, relocate the canal away from furcal danger and achieve straight line radicular access. With improved access, the SX is passively fit a little deeper into the canal until it encounters light resistance. Bounce off this resistance and brush out of the canal in an apical to coronal direction. Continue with the SX until about two thirds of the overall length of its cutting blades are below the orifice. Don’t forget to irrigate.
Once the pre-enlargement procedure is finished with excellent coronal two thirds access, use a precurved 10K hand file to negotiate the rest of the canal, establish patency, and confirm working length. When working length is confirmed and a smooth GLYDE path to the terminus is verified, use Shaping file N° 1 to length.
Following the use of S1, irrigate and use Shaping file N° 2 which has a white ring on its handle. This file will typically go to full working length on the first pass. Following its use, irrigate.
When the coronal two thirds of the canal has been prepared, the apical one third can be finished. The Finishing file N° 1 has a yellow ring (ISO 020) and with the canal flooded with irrigant, carefully take the F1 to working length and immediately withdraw.
Gauge the size of the foramen by placing a 20 K hand file to length. If snug at working length then the canal is prepared and ready to obturate. If it is loose, use Finishing file N° 2 (red ring ISO 025). Irrigate and carry the F2 to length and gauge the size of the foramen by placing a 25 K hand file to length. If snug at length then the canal is prepared and ready to obturate. If it is loose use Finishing file N° 3 (blue ring ISO 030) and carefully carry it to length. Gauge the foramen with the equivalent hand file. Normally, this would be as large as you would prepare a calcified and/or curved canal.
Always refer to the manufacturer's latest instructions and recommendations regarding the correct use of the instruments.